Lemon verbena syrup + an elegant fruit salad

Four years ago, not long after my mother died, someone I didn’t know very well left a lemon verbena tree on our doorstep. I found this gesture incredibly touching and kind, not least because my parents’ garden had a huge lemon verbena tree and Mum often made tea from the leaves. I’m not sure if I ever properly thanked her – but Kate, if you’re reading this, I often think of that kindness when I walk past the tree.

The tree has thrived, despite my neglect, but I seldom do anything with the leaves except for the occasional cup of tea. Then, while pottering around in the kitchen a week or so ago, I made this syrup and the whole house smelled like lemon verbena. It was gorgeous.

If you’ve got a lemon verbena tree, make this syrup now to get a dose of that intense lemony sherbet flavour in the depths of winter (or scent your house with it in summer). You can use it in drinks (nice with soda, or with very cold vodka as a kind of martini-ish number), or pour it over vanilla ice cream, or use it in this simple and elegant fruit salad (recipe follows). I’m thinking a lemon verbena sorbet could be next…

Lemon Verbena Syrup

1/2 cup boiling water
1/2 cup caster sugar
1 packed cup lemon verbena leaves

Put the water and sugar in a small pot and set over medium heat. Stir until the sugar has dissolved, then lower the heat and add the lemon verbena. Let bubble gently for five minutes, then remove from the heat and leave to cool.
When the syrup has cooled completely, strain it through a fine sieve into a sterilised bottle or jar. Discard the lemon verbena leaves or use them as a garnish (they will be almost candied). Makes about 1/2 cup.

Simple fruit salad with lemon verbena syrup
2 white-flesh peaches
2 apricots
2 dark-fleshed plums
1 1/2 cups blueberries (or boysenberries)
1/4 cup lemon verbena syrup

Cut all the stonefruit into slim wedges – about eight slices – and put in a bowl. Pour over the syrup and stir gently, then add the berries. This can be done in advance, but I think it’s nicest at room temperature rather than fridge-cold. Serves 4-6.

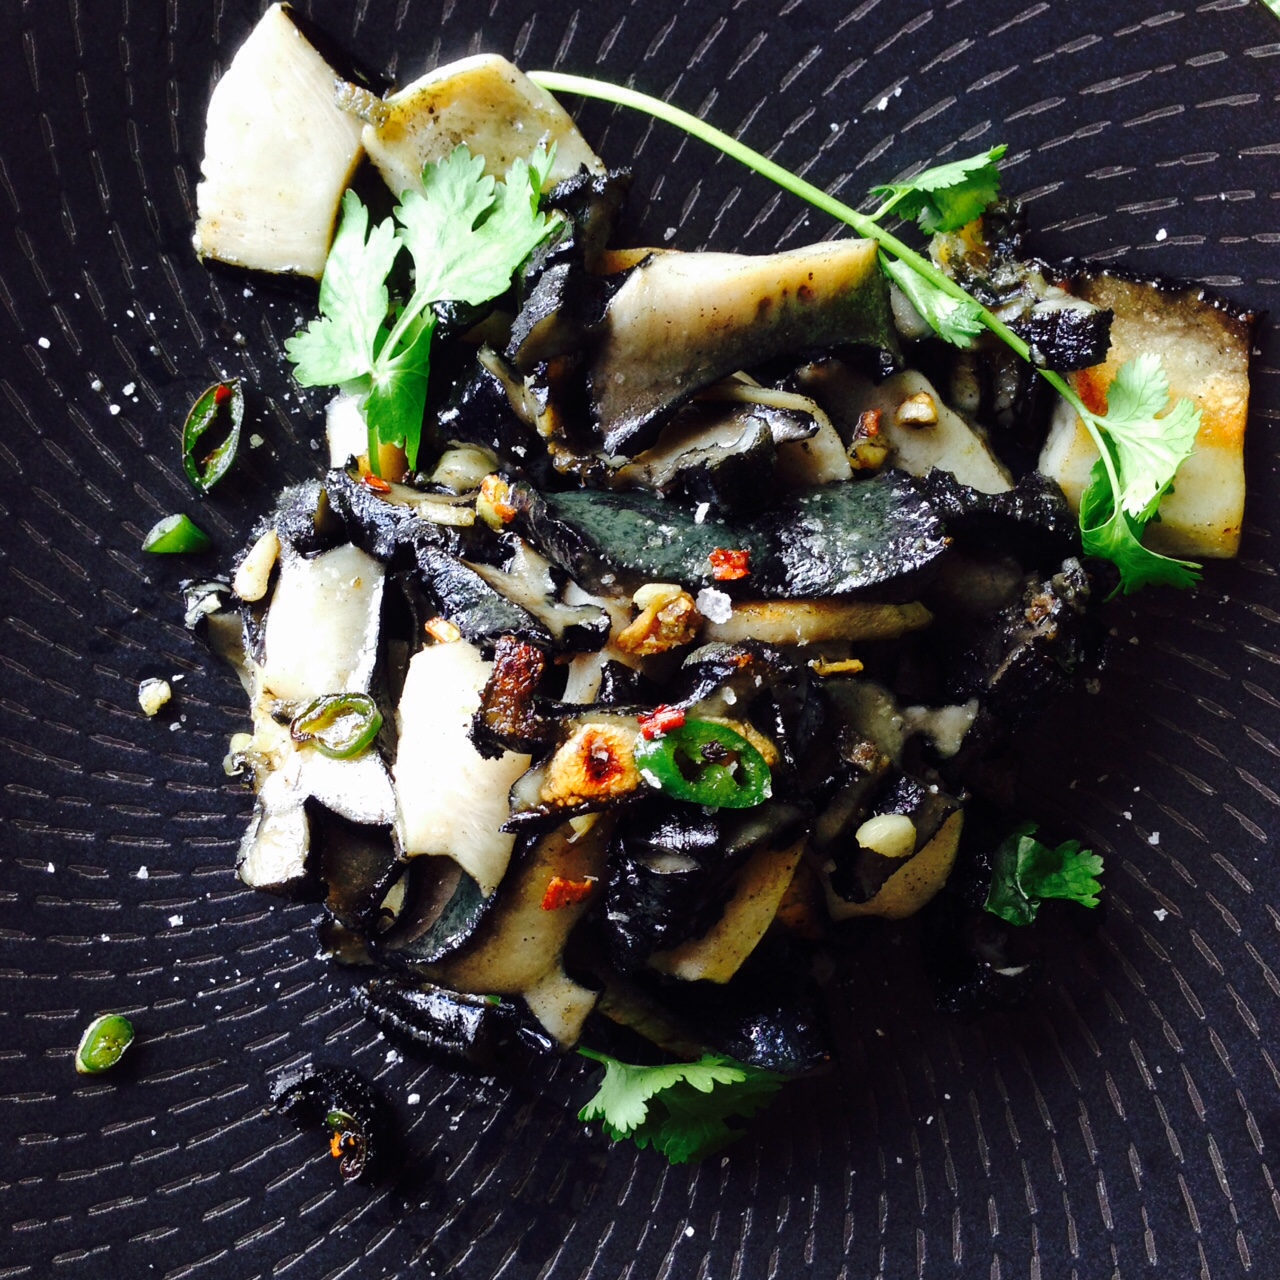
Paua with garlic, chilli, coriander and lime

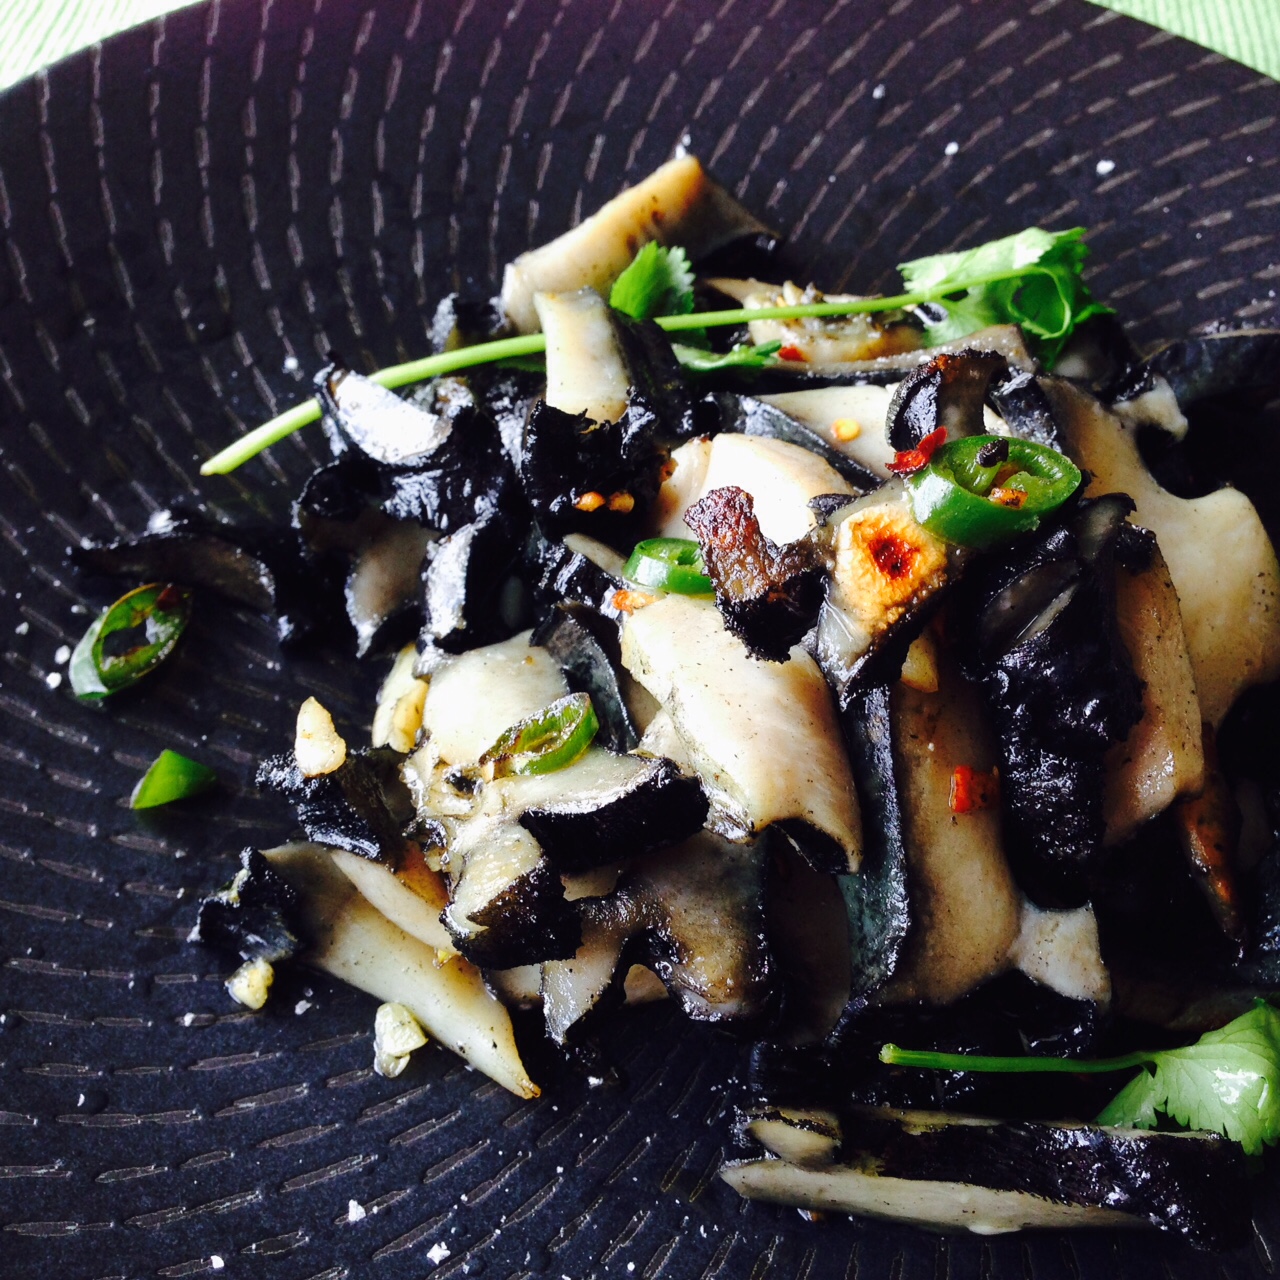
We are blessed with the best neighbours in the world. They are great neighbours for all sorts of reasons, but for the purposes of a food blog, they are the best neighbours because they do things like turn up with freshly caught crayfish, or duck, or smoked trout. Now they’ve just set the bar even higher by bringing us three massive paua. It’s going to take a lot of reciprocal bottles of wine and cakes to beat that one.

Paua With Garlic, Chilli, Coriander And Lime

I can’t remember the last time I had fresh paua – it appears in dishes on restaurant menus sometimes but my sources tell me it’s usually squid, so I never order it. When I was 13 I remember a magical holiday with cousins in the Far North of New Zealand, where the crayfish and paua were in such abundance we begged to have sausages as a treat. If you happen to have excellent neighbours, or a source of paua, here’s a way to cook it.

Fast And Easy Paua With Asian Flavours

Paua with garlic, chilli, coriander and lime
Paua is notoriously tough – I remember my cousin beating it with a wine bottle to tenderise it – but my neighbour passed on the ‘boil it first’ method, which works well (and requires a lot less effort). Quantities here are very approximate – adjust to suit the amount of paua you have. If all else fails, do what the restaurants do and use squid instead.

Half-fill a pot with water and bring to the boil. Drop in the paua and cover the pot. Let the water come to the boil and simmer for three minutes. Drain immediately and slice the paua into thin strips.
Heat a couple of sloshes of olive oil in a large, heavy frying pan. Add a couple of cloves of garlic, sliced, some fresh chilli and a bunch of spring onions. Add the paua and cook, stirring frequently, for another couple of minutes.
Scoop onto a warm waiting plate, then squeeze over some fresh lime juice and strew with coriander. Eat immediately.

Hello 2016

I’m writing this in the room we grandly call ‘the office’. There is just enough room for the laptop on this huge old wooden desk, jammed between a pile of notebooks on one side and a stack of what looks to be school ‘art’ projects, plus the recently deceased cover of the ironing board, on the other. I have a cup of tea balanced precariously on a pile of papers that includes a recipe for ‘pancetta’ cured kingfish and a cookbook idea I wrote down in a hurry last week. It is a mess and I really should do something about it.

The dishwasher is purring upstairs, but not so loudly that I won’t be able to hear my best beloved cutting into the loaves of bread I’ve just taken out of the oven, despite knowing this is a terrible crime. So far, 2016, so good.

We ended 2015 with vintage champagne, whitebait fritters and lamb racks cooked to a recipe from the first Ottolenghi book, plus chocolate fondants from The Cook’s Companion. The fondants were a disaster (I was so desperate not to overcook them that I erred too far in the direction of undercookedness), but no one seemed to mind. The champagne may have had something to do with that, or perhaps it’s because molten chocolate is better than no chocolate. Anyway, I’m going to get them right eventually.

Apart from that, I have no pressing food goals for 2016. I’m not going to drink less wine or eat less cheese. I’d like to grow more vegetables and see if I can nurture a new sourdough starter. If that sounds all a bit too virtuous, I’m also going to master the new ice cream attachment I have for my KitchenAid.

The latter goal reminds me of a clipping I have pinned to the wall above my desk. It’s a fragment of an interview with Ingrid Betancourt, the French-Colombian politician who was held hostage in the Colombian jungle by FARC guerillas for more than six years. At the end of the story, Betancourt says the experience made her decide that she would learn to cook when she got out and that she would “always have flowers in my room and wear perfume; that I would no longer forbid myself to eat ice-cream or cakes. I understood that in my life I had abandoned too many little pleasures, taking them for granted.”

Ingrid Betancourt had to suffer unspeakable horrors to reach that realisation, the rest of us should learn from it. Like she says at the end of the story, “I never say no to an ice-cream.”

What are your ice cream dreams for 2016?

Roadtest: The Zoku Quick Pop Maker

“Mu-umm,” she says, bedraggled and worn-out at the end of a busy day at school. “I’m very hot and bothered. Do you think it’s a good day to have an iceblock?”

This is what’s known as parental roulette. Say yes, and you’ve got a 10-minute walk to the village, followed by a five-minute high, which will not be enough to get you all the way home again.  Say no, and you get a stompy six-year-old who is less than impressed with your suggestion that a nice glass of cold water when you get home will help her cool down.

After roadtesting the Zoku Quick Pop Maker, I may have found the solution.

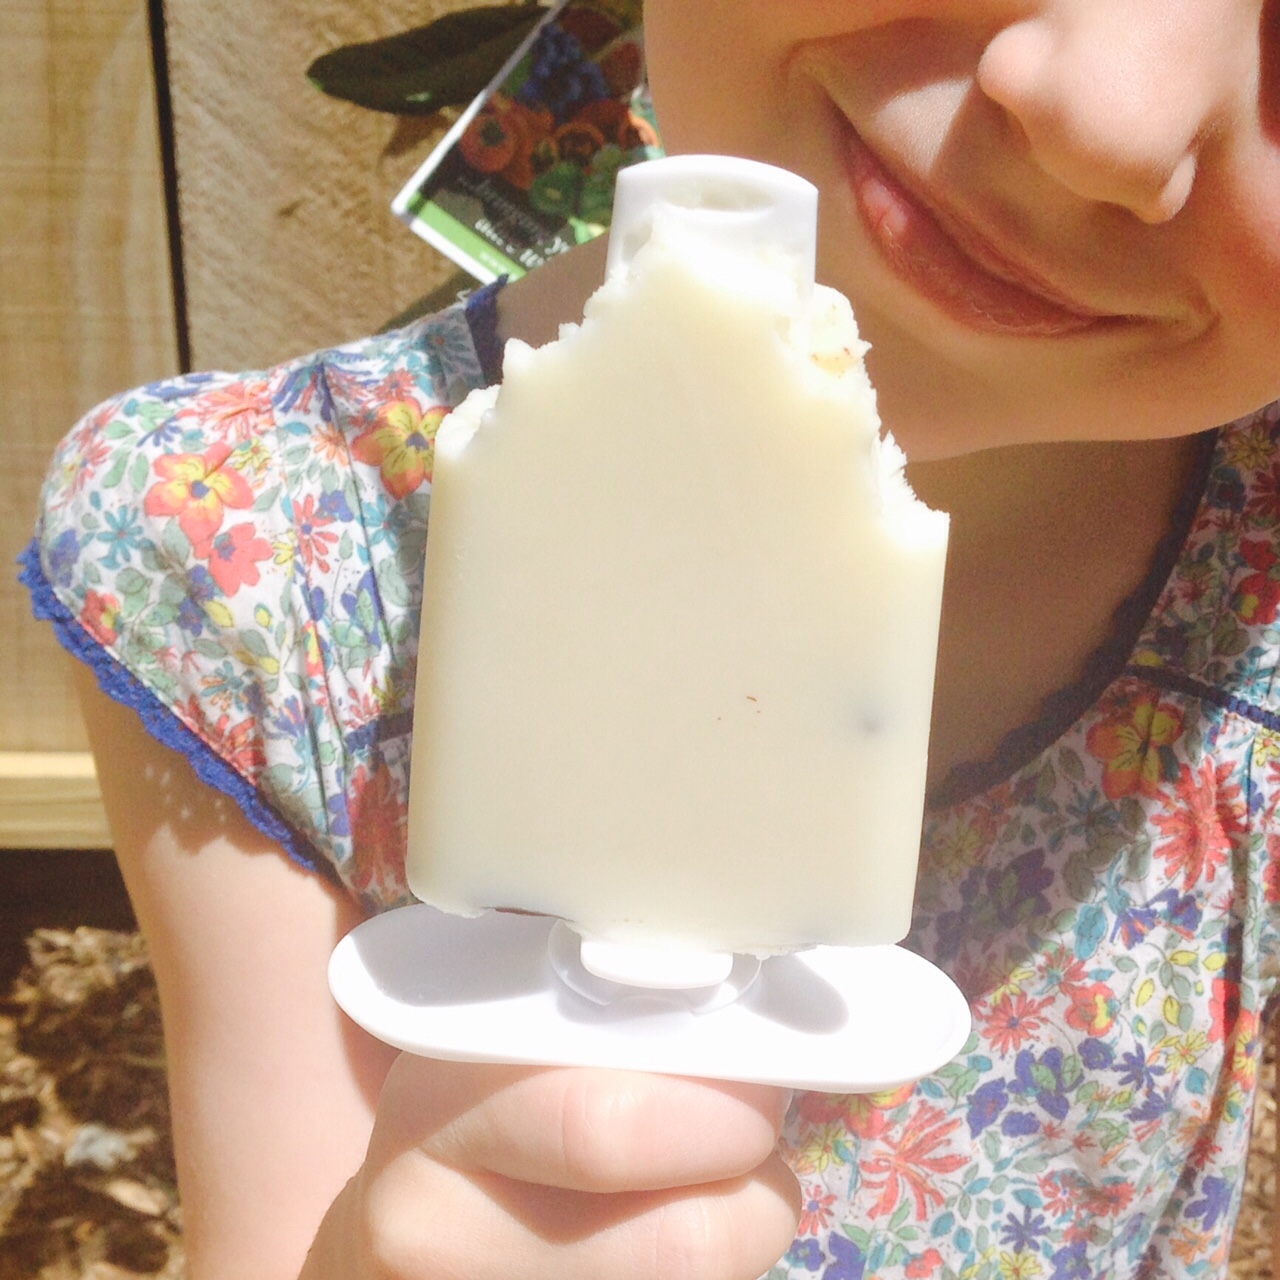
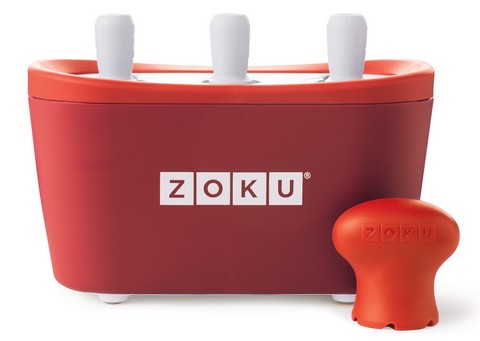
Zoku’s Quick Pop Makers are benchtop instant freezing units. You keep them in your freezer (the three-pop maker takes up about the same amount of space as a two-litre ice cream container), then whip them out to make DIY ice ‘pops’ (that’s ice blocks to Kiwis and ice lollies to the British) in less than 10 minutes. You can make them as simple or as fancy as you like (Zoku even have a dazzling recipe book full of inspiring ideas) and – best of all – you get to control exactly what goes into them. We made the Mint Choc Chip Pops from the recipe book, using organic whole milk, agave nectar, peppermint essence and Whittaker’s 72 per cent cacao chocolate – and they were fabulous.

Sound too good to be true? After some spectacular failures when trying to make homemade pops the normal way (I find they never, ever come out of the molds cleanly enough), I was very skeptical. But the Zoku worked an absolute charm. You release the pops with the aid of the ‘Quick Tool’ (included in each kit) and it’s a mostly angst-free process. The pops are ready to eat then and there, but you can carefully wrap them in plastic and return them to the freezer to eat another day.

On the downside, they’re not completely instant. The unit has to be frozen for 24 hours before you use it, and it’s only good for two or three batches in a sitting. I found the second and third batches took a lot longer to freeze – and for the third, I actually returned the whole unit to the freezer for half an hour to make sure they set properly. You also need to wait for it to defrost before you clean it.

All things considered though, it’s a pretty fun addition to the kitchen. A Quick Pop Maker would also make a fantastic family Christmas present for the people with everything. If you’re going to buy your children a device of some kind, at least get them one that encourages real-time social interaction!

THE DETAILS
Zoku Quick Pop Makers come in three sizes – single (RRP $49.99), duo and triple (RRP $110). Each comes with a Quick Tool, sticks and drip guards, plus instructions. Find New Zealand stockists here.

GIVEAWAY
Want to win a Quick Pop Maker? Check out The Kitchenmaid on Facebook for your chance to win one!

Fast oven-baked fish with a crunchy crust

I’m not normally given to wandering down the cereals aisle of the supermarket, but I did feel a pang of nostalgia when homegrown brand Hubbards turned 25 about six weeks ago. A quarter of a century! Where did the time go?

I remember my mother being very fond of ‘Mr Hubbard’, who did then-unthinkable things like include a chatty newsletter in each box of muesli and engage with his customers. That was a pretty big deal in the pre-internet age, as was their attitude to social responsibility. Of course, the mueslis were pretty good too, not least because they featured utterly addictive YCRs (otherwise known as yoghurt-covered raisins). In later years I remember a friend saying he thought Hubbards should just make boxes of YCRs rather than families and flatmates fall out over who ate the last ones. 

On a recent supermarket sweep I discovered that Hubbards now make all manner of new cereals over and above the old favourites (including a special 25th birthday one that contains chocolate and raspberries). It’s great to see them in such good health. Happy birthday, Hubbards. See you at 50. 

Fast oven-baked fish with a crunchy crust
The youngest member of our household is mad for what she calls ‘crumbled fish’ – that is, fish in a panko breadcrumb crust, fried in a pan. That’s all very well, but this is a faster, slightly healthier way to get the same crunchy kick. I used Hubbards’ Simply Toasted Muesli with nuts and seeds – I’d suggest opting for something similarly plain. This is one occasion where yoghurt-covered raisins are not the answer.

4 fillets tarakihi or similar
1 Tbsp cornflour
1 egg, lightly beaten
1 1/2 cups muesli
2 Tbsp olive oil
salt and pepper

Heat the oven to 200C and line a baking dish with foil. Put the beaten egg in a shallow bowl and put the muesli in another shallow dish.
Dust the fish with cornflour, then dip each fillet into the egg mixture before coating it with the muesli. Repeat until all the fillets are coated.
Grease the foil with one tablespoon of the olive oil, and lay the fillets on top. Grind over some salt and pepper, then drizzle over the remaining oil.
Bake in the preheated oven for 5-10 minutes, depending on the thickness of the fish. Remember it will keep cooking a little after you take it out of the oven.
Serve immediately with lemons and fresh herbs. Serves four.

Have a great week, everyone x