The perfect chocolate smoothie

I don’t want to jinx things, but we are having the best winter ever. There are tomatoes growing in my garden, despite heavy frosts and gusts of wind that feel like they’ve blown straight from Antarctica. A work colleague whose house is hooked up to solar panels says they have more battery power now than they did in mid-summer. It’s not exactly t-shirt and jandals weather, but the sun is out and the days are crisp and clear.

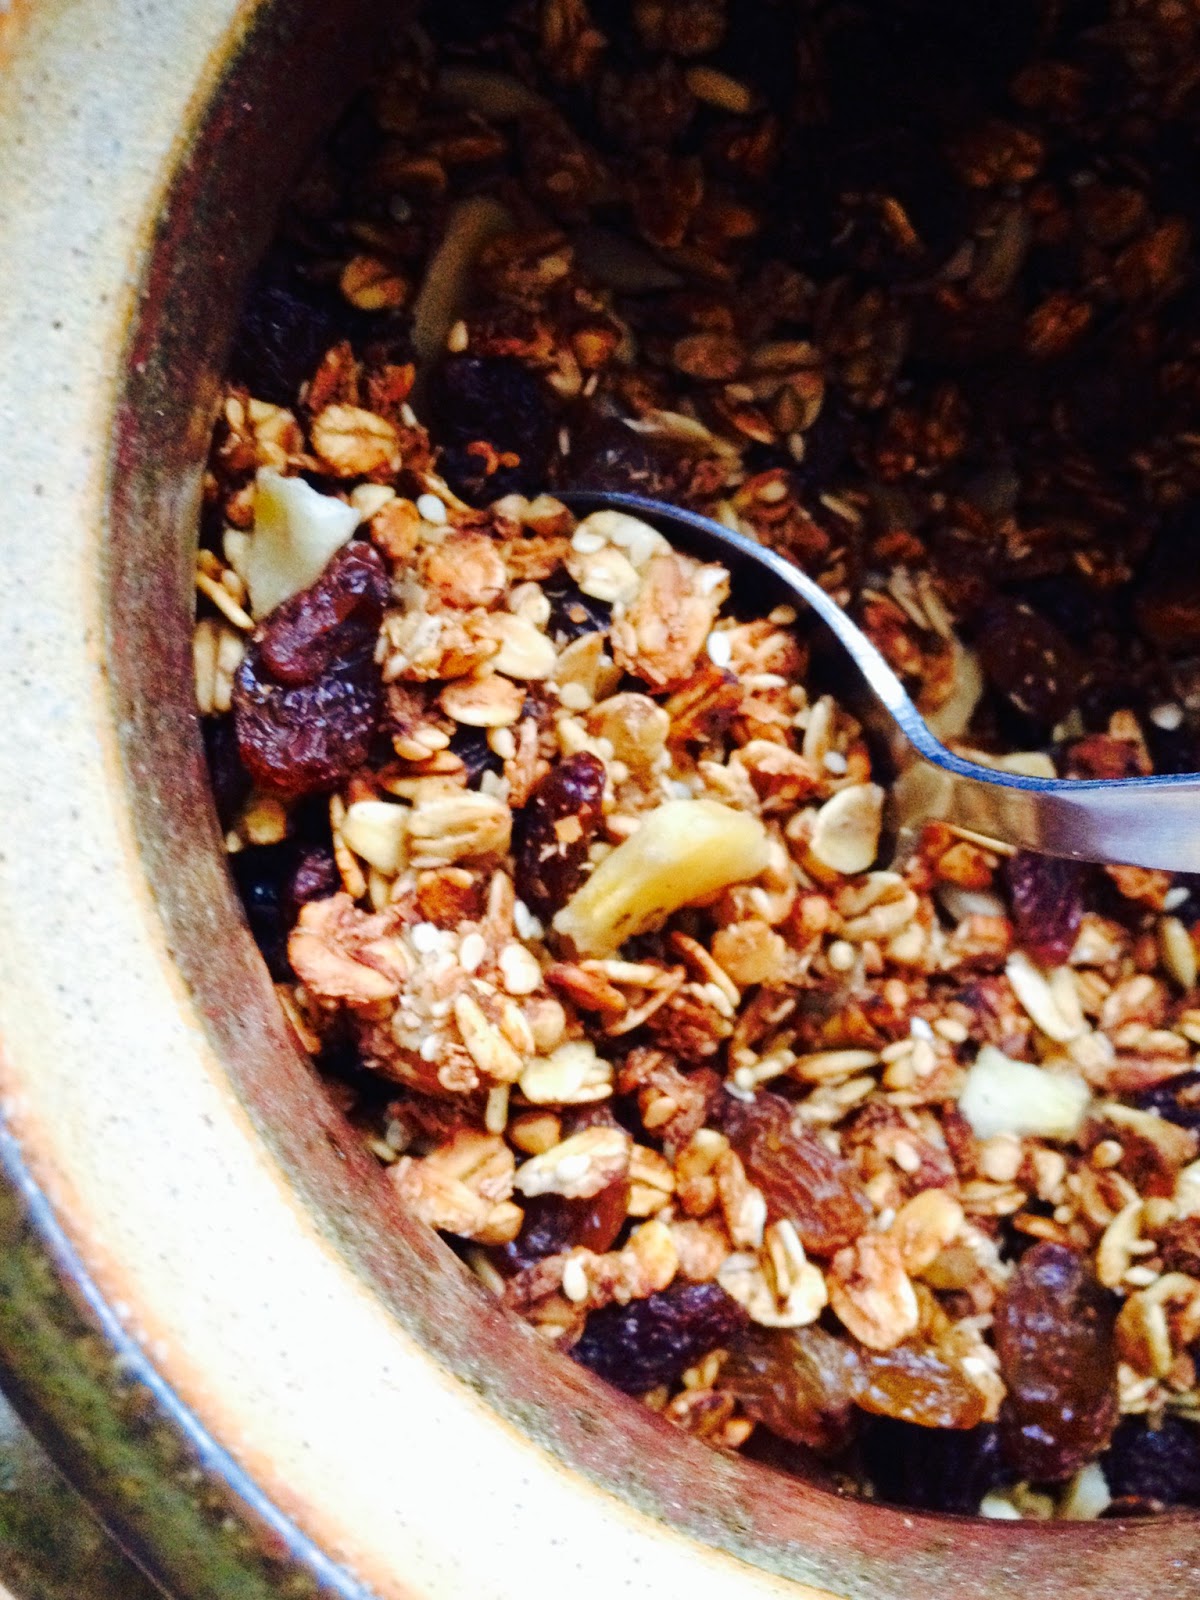
The weather is so good that on Monday, to celebrate the start of the school holidays, we had chocolate smoothies for breakfast. On Friday, to celebrate the last day of term, we had chocolate porridge. I’m a strong contender for Mum Of The Year, don’t you think?

Dairy Free Chocolate Smoothie No Refined Sugar

The perfect chocolate smoothie

The ingredients for these smoothies came from The Big Fair Bake, a Fairtrade initiative designed to showcase the many wonderful ways you can a) support Fairtrade and b) use Fairtrade ingredients. Supporting Fairtrade seems like a no-brainer to me – it’s getting easier all the time to find fairly traded and produced things all the time and I like the idea that I am (in a tiny way, admittedly) helping other families while doing something nice for my own. While The Big Fair Bake is, as the name suggests, all about baking, this is a so-hot-right-now option that doesn’t require you to turn on the oven or even the elements. Now that’s what I call the perfect holiday breakfast.

400ml coconut milk (the Trade Aid one is delicious!)

3 Tbsp good quality cocoa powder

1 Tbsp honey (or more to taste, if you like things really sweet)

3 very ripe bananas, peeled, cut into chunks and frozen

Put everything in a blender and blitz to form a smooth and frothy mixture. Divide between two tall glasses and serve. Pink straws optional, unless you live in my house.


How to make sunflower seed butter

The advent of school lunches means that we’re now going through our favourite peanut butter at an alarming rate. We already ate it a lot – anyone who tells you they don’t eat it by the spoonful occasionally is either a person of no consequence or a liar – but now it’s disappearing like there’s no tomorrow.

We are lucky in that nuts are not a banned substance at ‘our’ school (dogs are also banned, but they’re not as good in sandwiches so it’s not such a big deal), but I do feel the need to diversify our reliance on the humble peanut. And so, while scrabbling around in the pantry last weekend I found a small sack of sunflower seeds and decided to have a bit of an experiment, based on my 2011 adventures in making my own tahini.
Half an hour later and I’d made two jars of fragrant sunflower seed butter for the princely sum of $2.50. Here’s how you can make it too.

How To Make Sunflower Seed Butter At Home Image/Recipe: Lucy Corry/TheKitchenmaid

How to make your own sunflower seed butter
This is really easy – all you need is a bag of sunflower seeds, a splash of neutral-flavoured oil, a pinch of salt and a food processor or blender. A fancy high speed blender would do the trick in seconds, but a regular food processor does a pretty good job in about five minutes.

500g sunflower seeds
3-4 Tbsp neutral flavoured oil (sunflower oil, if you really want to be cute about it)
a good pinch of salt (optional)

Line a large oven tray with baking paper and heat the oven to 180C. Scatter the seeds over the prepared tray in an even layer.
Toast them in the oven, watching carefully and stirring every 5-10 minutes, until they are turning golden. Don’t wander off, they burn easily.
Remove them from the oven and let cool for five minutes, then tip into your food processor (carefully, so you don’t lose the lot on the floor).
Add the salt, 2 Tbsp oil and whiz – it will be very noisy but will settle down and form a paste. Add the remaining oil until the paste slackens to a peanut butter-style consistency.
Scrape into jars and store in a cool, dark place. Makes about 500g.

Treat me: Banana granola

Has it ever occurred to you that bananas are like buses? There’s never any when you want one (or at least, one in the right state of ripeness or heading to the right destination), then a whole bunch turn up (or turn from green to extra-ripe) at once.

I know that’s a bit of a stretch, but come on, it’s Friday. And while I am well aware of the joys of freezing overripe bananas, not least because they’re great in smoothies like this apple crumble one, there’s only so many containers of frozen bananas that our tiny freezer can take. And there’s only so much banana cake a small family can eat in a week too (really, there is!)

How To Make Banana Granola Credit: Lucy Corry/The Kitchenmaid

So it is with great pride I present to you my latest way to use up all the bananas that are no longer fit for eating in their natural state: banana granola. It’s genius, even if I do say so myself.

Banana Granola
This makes the house smell like banana cake, but it’s much more virtuous. The buckwheat gives it an extra crunch, but if you can’t lay your hands on any try quinoa or another cup of seeds.

4 cups whole or jumbo oats
1 cup seeds – sesame, sunflower, pumpkin, linseed – or a mixture of all of them
1 cup desiccated coconut
1 cup buckwheat or quinoa
1 Tbsp cinnamon
2 Tbsp neutral, flavourless oil
2 Tbsp honey
3 very ripe bananas
1 1/2 cups dried fruit, optional

Heat the oven to 160C and line a large baking dish with baking paper. Put the oats, seeds, coconut, buckwheat or quinoa and cinnamon in a large bowl and stir well to mix.
In a separate bowl, mash the bananas to a smooth puree with the oil and honey. Stir this mixture through the dry ingredients – don’t be afraid to use your hands to really mix it in.
Spread in an even layer on the prepared tray and bake for 35-40 minutes, stirring every 10 minutes. If it starts to look a little dark towards the end of the cooking time, just switch the oven off and leave the door slightly ajar, but leave the granola tray in the oven until it has cooled down. This will ensure it dries thoroughly.
Stir through some dried fruit if you like – I reckon sultanas and banana chips are a good combo – and store in an airtight container.

Have a great weekend, everyone x

Treat me: Coconut Crumble

I’ve never understood why people get cross when recipe writers in magazines or newspapers advocate the use of new or ‘fancy’ ingredients. Why? Surely, if you love food, then shouldn’t you love hearing about new things, and figuring out things you can do with them? Maybe I’m strange like that.

Coconut Sugar, Coconut Flour, Coconut Oil And Desiccated Coconut Image

Anyway, ever since I discovered coconut sugar I’ve been going a bit mad with it. Partly this is to stop myself eating it out of the jar or sprinkled on my yoghurt, but mostly because it’s fun. And delicious! And even if all that stuff about it being super-good for you isn’t wholly true, we can’t be saints all the time, can we?

Fruit Crumble Vegan Gluten-Free Photo Credit: Lucy Corry/The Kitchenmaid

Coconut Crumble
I could tell you that I love this for its so-hot-right-now coconutty-ness, but the reason I am really hooked on it is that it takes less than 20 minutes to make – and cook. That means you can even make it for breakfast and still not be late for work. Do you need any more encouragement? Ok then, it’s also vegan and gluten-free. Happy now?

1/2 cup coconut flour
1/2 cup desiccated coconut
1/4 cup coconut oil
1/4 – 1/2 cup coconut sugar
about 2 cups fruit – I favour frozen berries for the speed factor, but you could use any cooked fruit. Poached pears would be nice…

Heat the oven to 200C. Grease a shallow sided pie dish or similar with a bit of coconut oil, then tip in the fruit. Stir the coconut flour, sugar and desiccated coconut together, then mash in the coconut oil until it is reasonably evenly distributed. Taste – if you have a very sweet tooth you may want to up the sugar to 1/2 a cup. Tip this mixture evenly on top of the fruit, then put the dish in the oven and bake for 15 minutes, until the fruit is hot and the crumble is golden brown. Serve with a generous dollop of whipped coconut cream or Greek yoghurt. Serves four.

Have a great weekend everyone x

Treat me: Raw raspberry lamingtons

You might think I married my husband for his wit, good looks and charm, but there’s more to it than that. What sealed the deal is was that his mother makes the best lamingtons in the world. Once I realised he was the heir to a freezer full of chocolate-dipped, cream-filled spongy delights, there was no turning back. 

Raw Raspberry Lamingtons

More than a decade down the track though, I’ve come to realise that there are other lamington-makers out there. In fact, there are hordes of them, all of them making exotic lamingtons like there’s no tomorrow. They’ve been whipped into a coconut-dusted frenzy by an adorable English flight attendant by the name of Peter, who is no slouch himself in the lamington department.

Peter is such a champion of lamingtons that for the last four years he has devoted himself to reinventing them every February. Don’t tell my MIL, but I think he could give her a good run for her money. In the meantime, he’s thrown down the gauntlet to the rest of us. And so without any further ado, I bring you my raw raspberry lamingtons…

Raw Chocolate Gluten Free Lamingtons

Raw raspberry lamingtons

These are not your ordinary lamingtons – there’s no sponge, no eggs, no sugar and – gasp – no cream. These are lamingtons, 2014 style. They’re raw, gluten and dairy-free, and contain no refined sugar. But there’s plenty of coconut, chocolate AND raspberries – for those of you who can’t decide whether a lamington should be brown or pink. I was inspired by this recipe, but took it in a completely different direction. The ultimate test was when I asked my brother-in-law to try one. “These,” he said, “are dangerous. Is the recipe going on your blog?”

100g ground almonds

120g dessicated coconut

4 Tbsp coconut oil

3 Tbsp real maple syrup or honey

60g (about half a cup) frozen raspberries

Line a small plastic container (like a takeaway container) with plastic wrap and set aside.

Put all ingredients in a food processor and whiz until it clumps. Press this mixture into the prepared container and leave in the fridge for at least an hour, until firm. You can leave it for a day or so if you like, it won’t come to any harm, though you may accidentally eat some of it.

When you are ready for stage two, remove the coconut mixture from the fridge and cut into small bars. Gently melt 120g dark chocolate with 1 tsp of coconut oil (I do this in a heatproof bowl in a warming oven, but you can use a microwave on low or a double boiler) and set aside to cool slightly.

Put the coconut in a small bowl and line a tray with baking paper.

Dip the bars into the chocolate, then roll them carefully in the coconut. When you have finished, put them in a lined, lidded container and put them in the fridge before someone comes by and gobbles the lot. Makes about 12-15, depending how much gets eaten along the way.

Have a great weekend, everyone x